Select Void Reasons from the Restaurant section of the POS Configuration Menu.
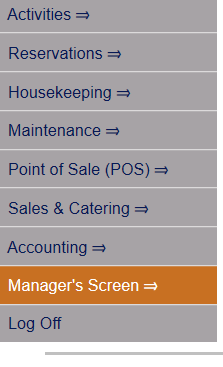
From the quick menu (left) choose Manager's Screen to be taken to the Manager's Commands menu.
 OR
OR 
OR Click the icon on the left for the Full Menu.
 OR
OR 
This will display the Full menu in a tabular form, with four sections, Registration, Status, Cashier and Other.
 OR
OR 
Select Other from the Other section.
 OR
OR 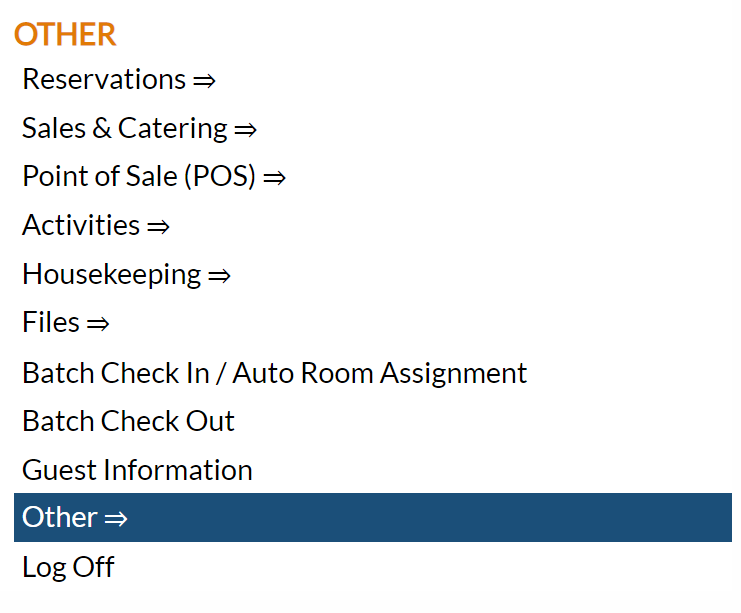
This will take you to the Other Front Desk Tasks Menu, which has four sections, Other List 1, Other List 2, Documents and Web.
 OR
OR 
From the Other List 2 section, select Manager's Screen => to be taken to the Manager's Commands menu.
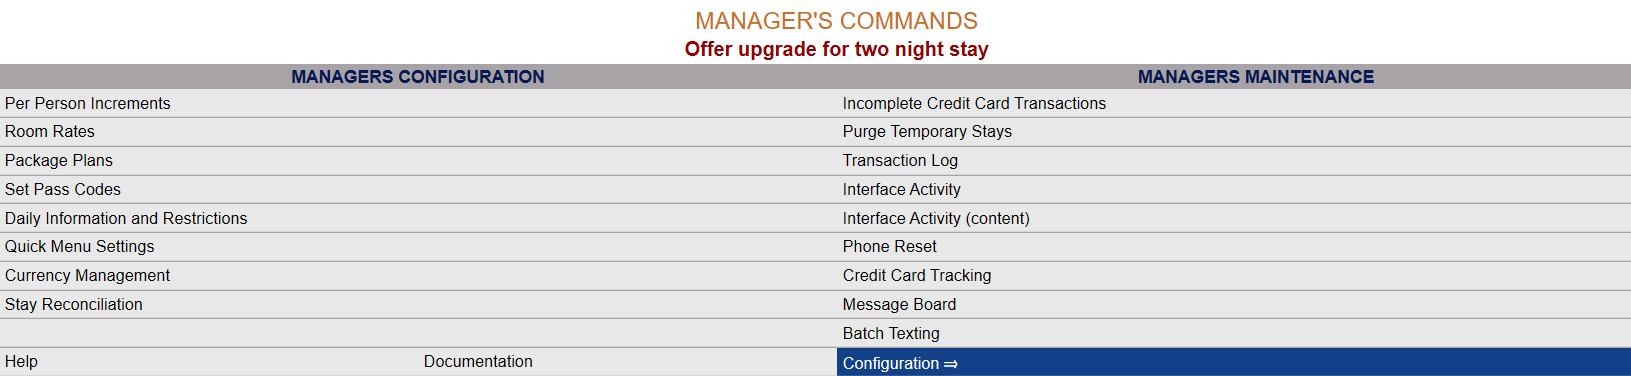
The Manager's Commands menu has two sections, Manager's Configuration and Manager's Maintenance.
 OR
OR 
Select Configuration => from the Manager's Maintenance section.
 OR
OR
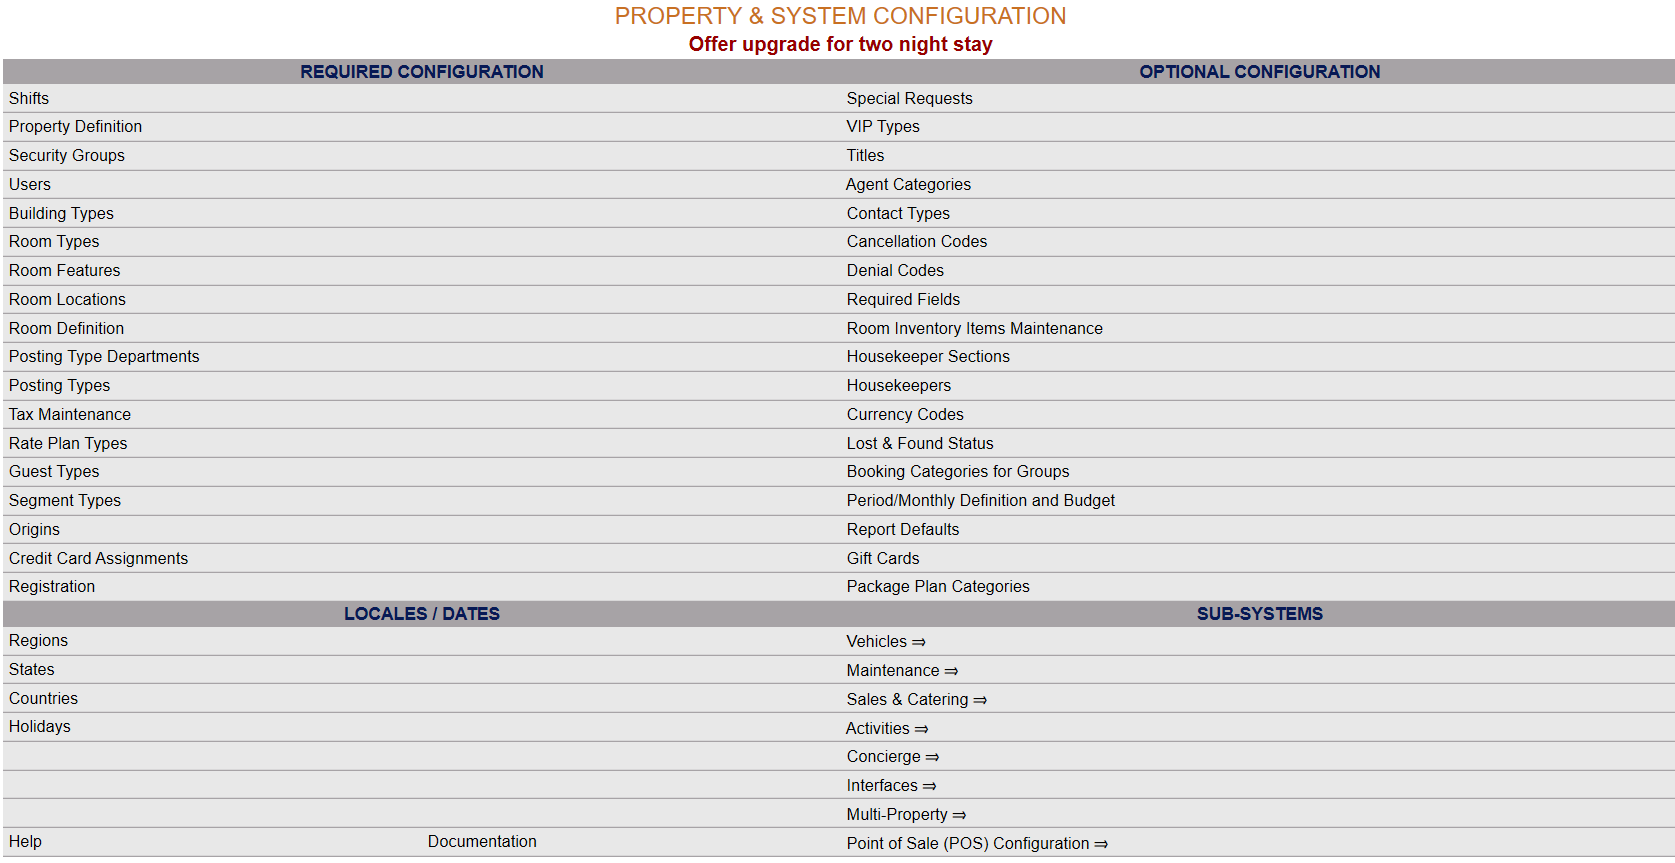
This will open the Property and Configuration Menu screen. The list of property configuration options are divided into four sections, which are Required Configuration, Optional Configuration, Locales/Dates and Sub-Systems.
 OR
OR 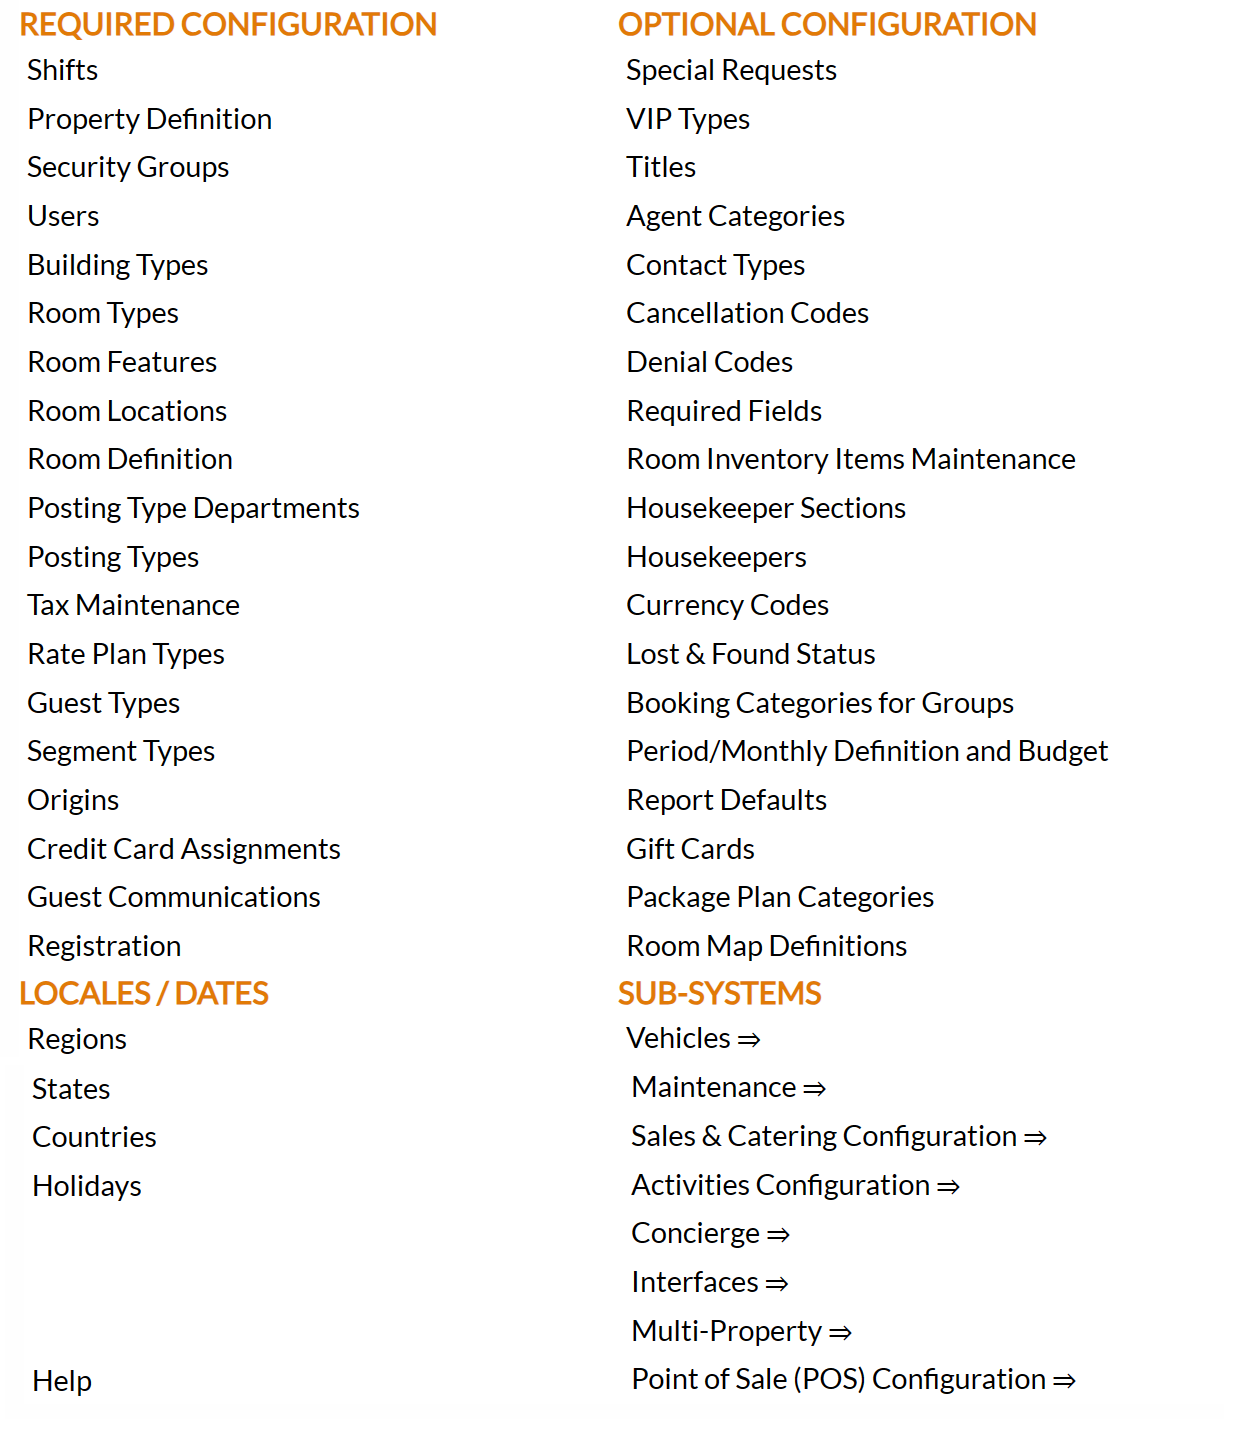
Note: Alternately, you may also be able to select Configuration directly from the Quick Menu, if the menu has been set up to include the Configuration option. This will also take you to The Property and System Configuration Menu.
Select Point of Sale (POS) Configuration => from the Sub-Systems area of the screen.
 OR
OR 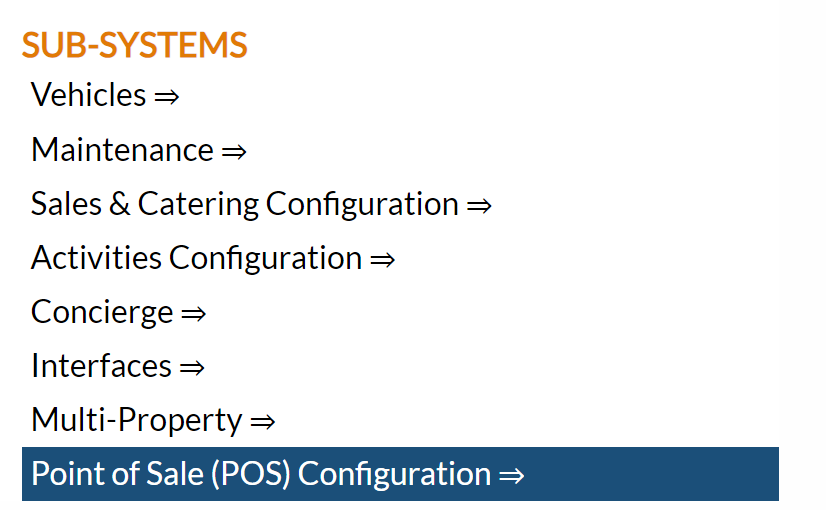
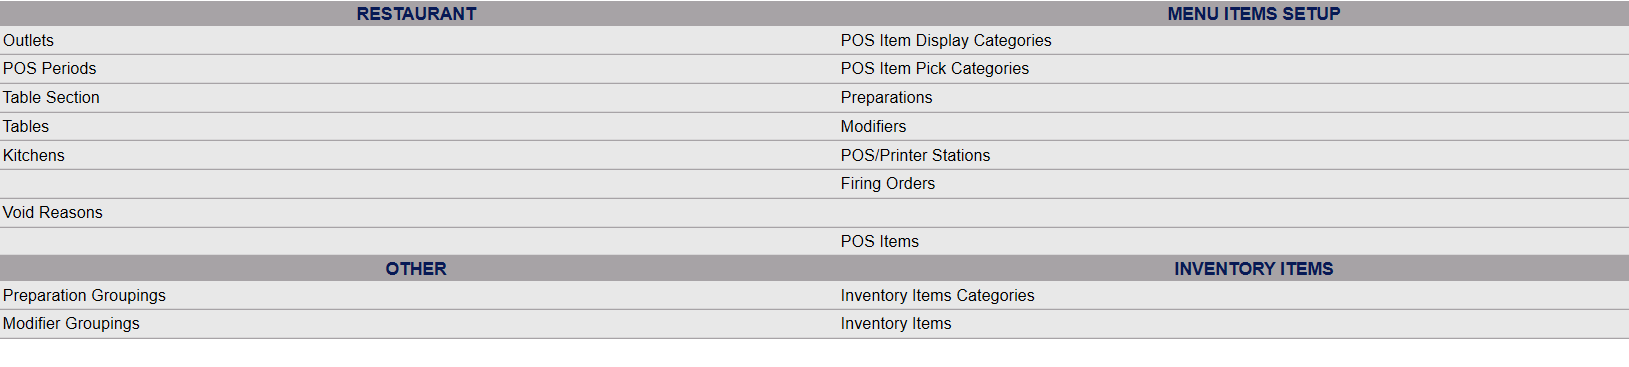
This will take you to the POS Configuration Menu.
 OR
OR 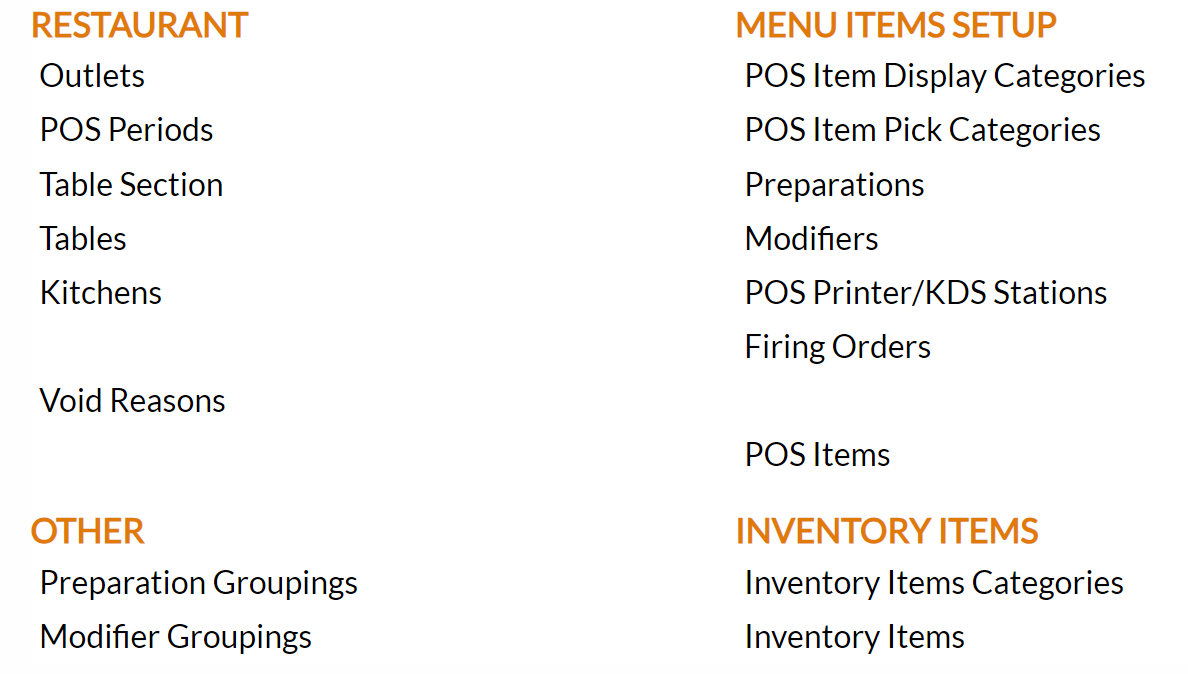
The commands are divided into four sections: Restaurants, Menu Items Setup, Other and Inventory Items.
Select Void Reasons from the Restaurant section of the Point of Sale (POS) Configuration menu.
When selected, the Void Reasons screen will open.

The Void Reasons screen display is split into two frames, with the left side of the screen listing any already configured void reasons for the Property and the right side containing the fields you need to complete in order to add or edit a void reason for the property. Any changes made on the right, once saved, will be updated in the listings to the left.
The currently configured Void Reason options can be displayed by:
Order: This determines where the table appears listed in the interface.
Reason: The void reasons can be sorted alphabetically or a particular void reason searched for manually.
Not Active: This is a Yes/No category. If the void reason is currently marked as not active (and therefore unavailable), this field will say "Yes".
Selecting any Void Reason will display the details on the right.
Your options include the following:
Generate a new entry:
Click the New  button from the toolbar to add a new Void Reason.
Complete the fields described below.
OR:
Select an existing Void reason from the list on the left, and click the Replicate  button from the toolbar.
Then change the field information as described below.
Edit the current selection:
Change the field information described below.
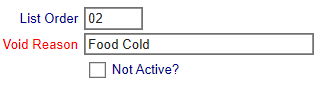
List Order: This determines in what order the void reason appears listed in the interface.
Enter a number into the List Order field.
This field is optional. If a number is not entered in the field, the void reason(s) will be displayed alphabetically.
Void Reason: This is the field where the reason for the void should be entered. This is the name that appears for Void Reason in the Point of Sale (POS)interface (on the restaurant check screen).
This field is required.
Not Active?: This box may be checked or unchecked. By default, it is unchecked.
It should only be checked if the Void reason is no longer in use.
Once a Void Reason has been added to the list on the left, it will remain in the list (cannot be deleted) if there has been any checks created using it. Once a check is created, it exists in several places in the system, and therefore there cannot be a check for something that does not exist.
When you are finished adding or editing Void reasons, click the Save  button to save the changes.
To view any changes made, click the Activity log  button in the local tool bar.